Assembly
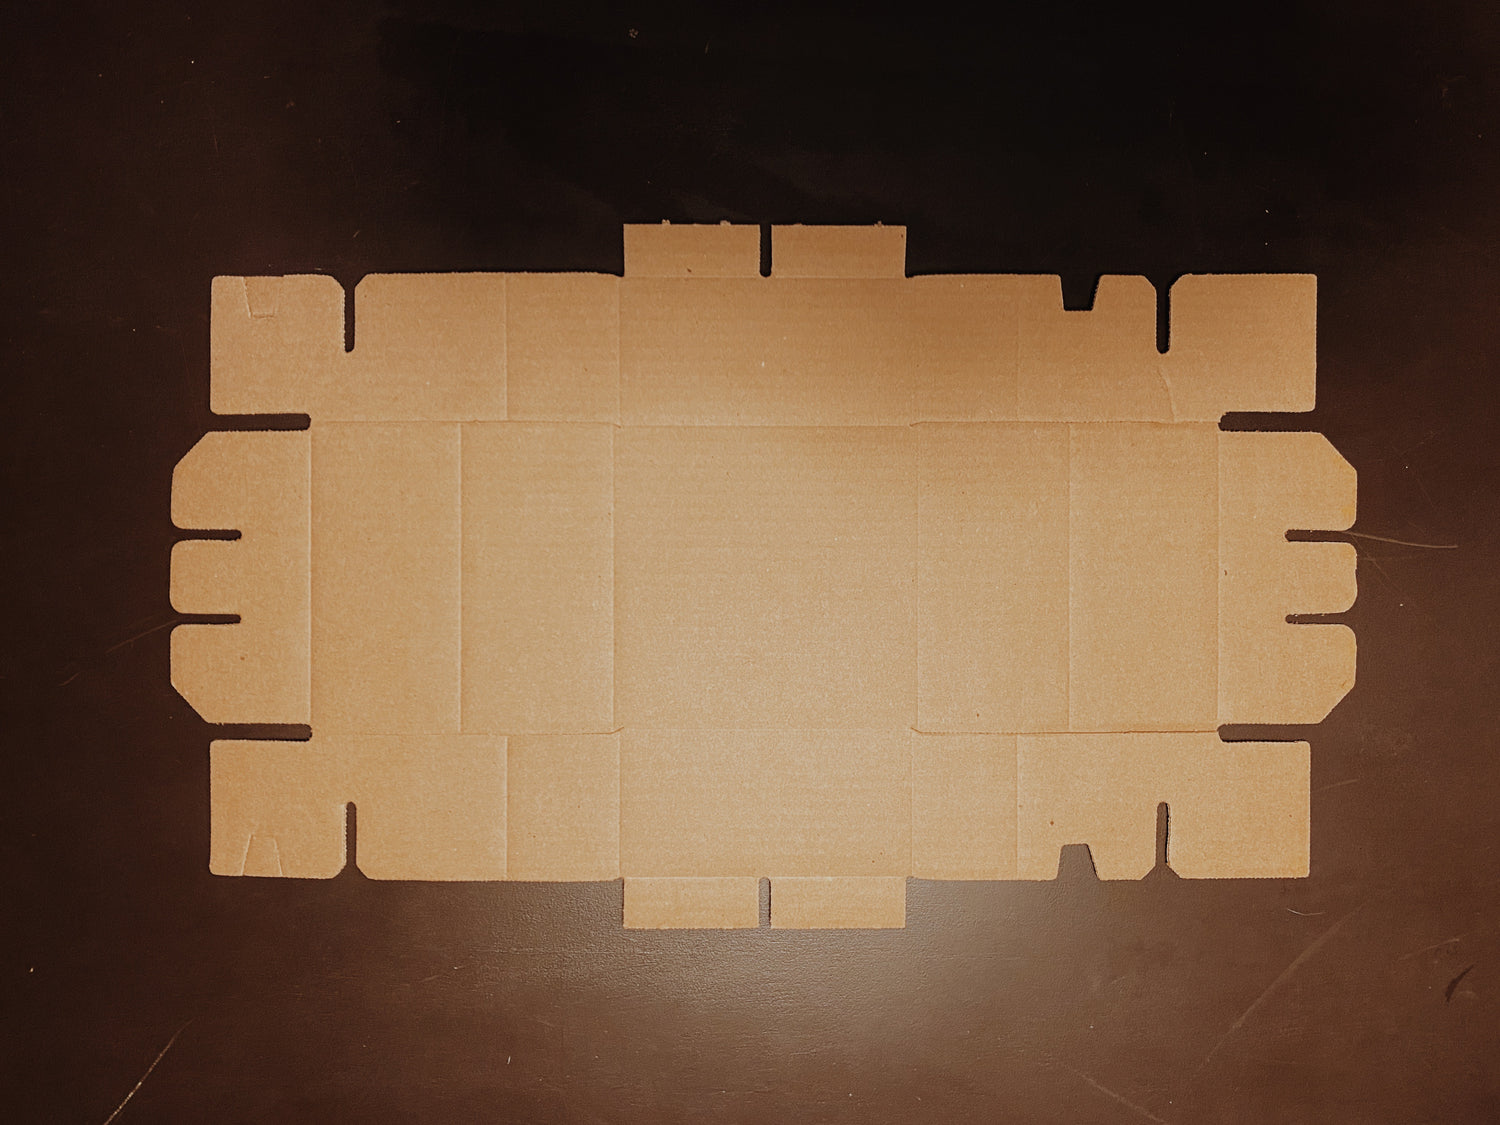
Step 1
Lay the foundation
Start with a flat base.

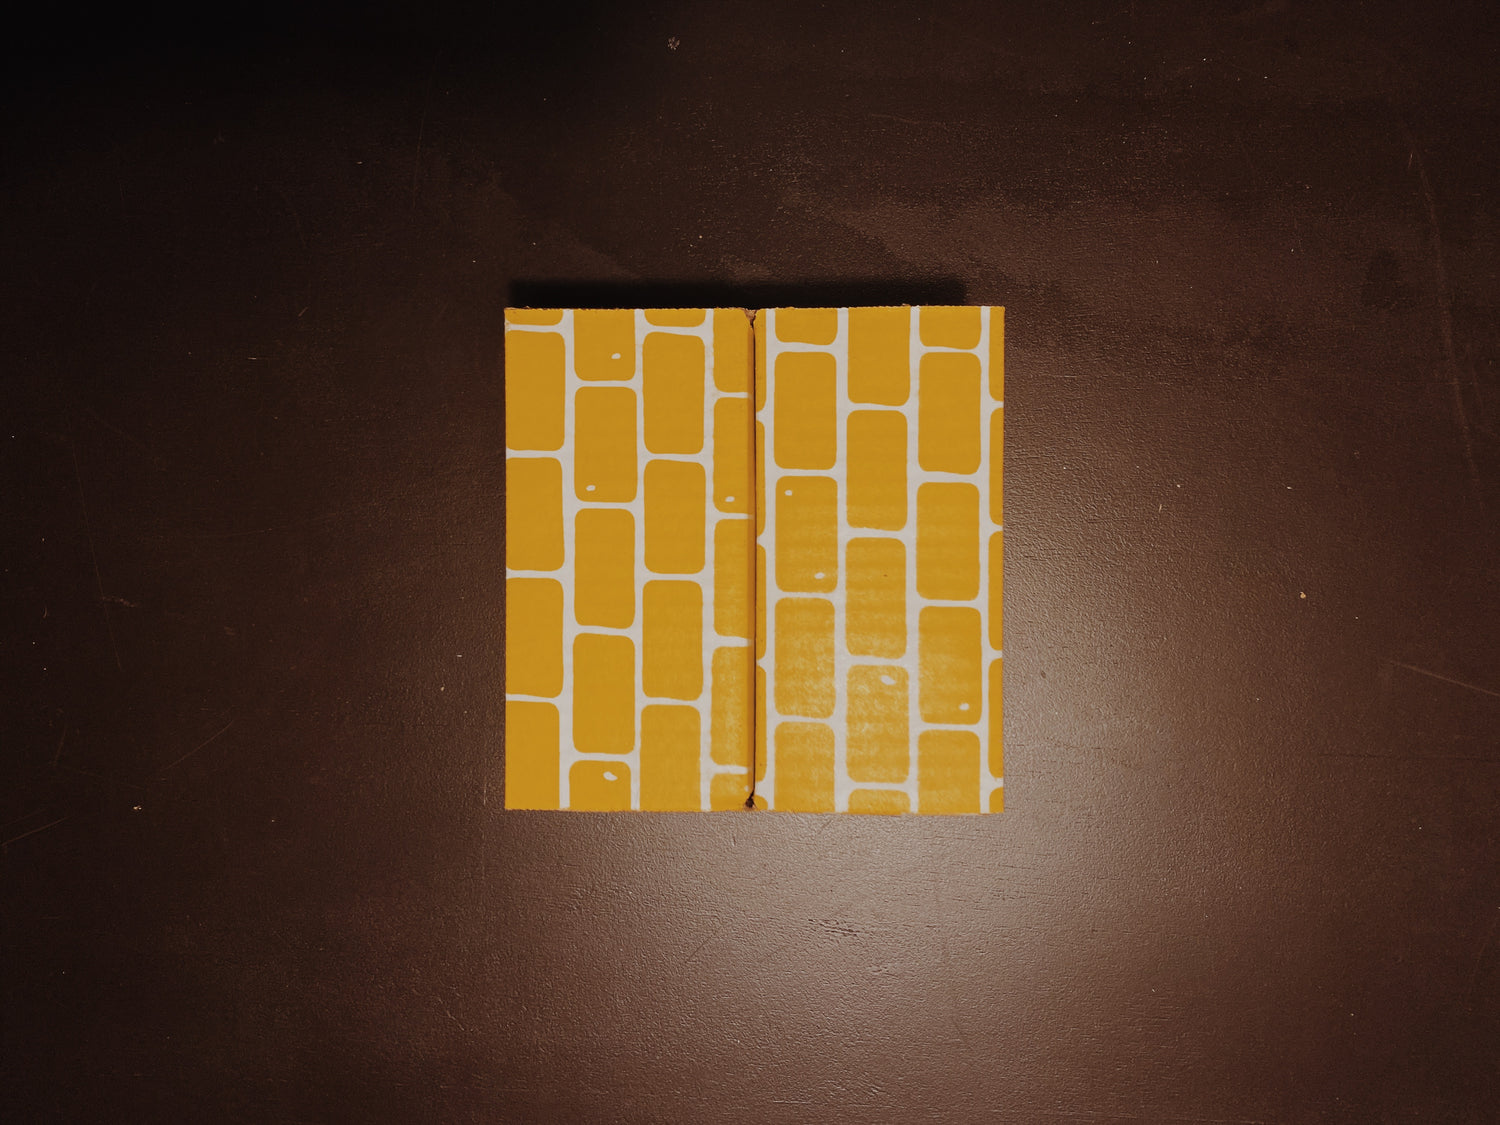
Step 2
Shape it up
Bend one side upward
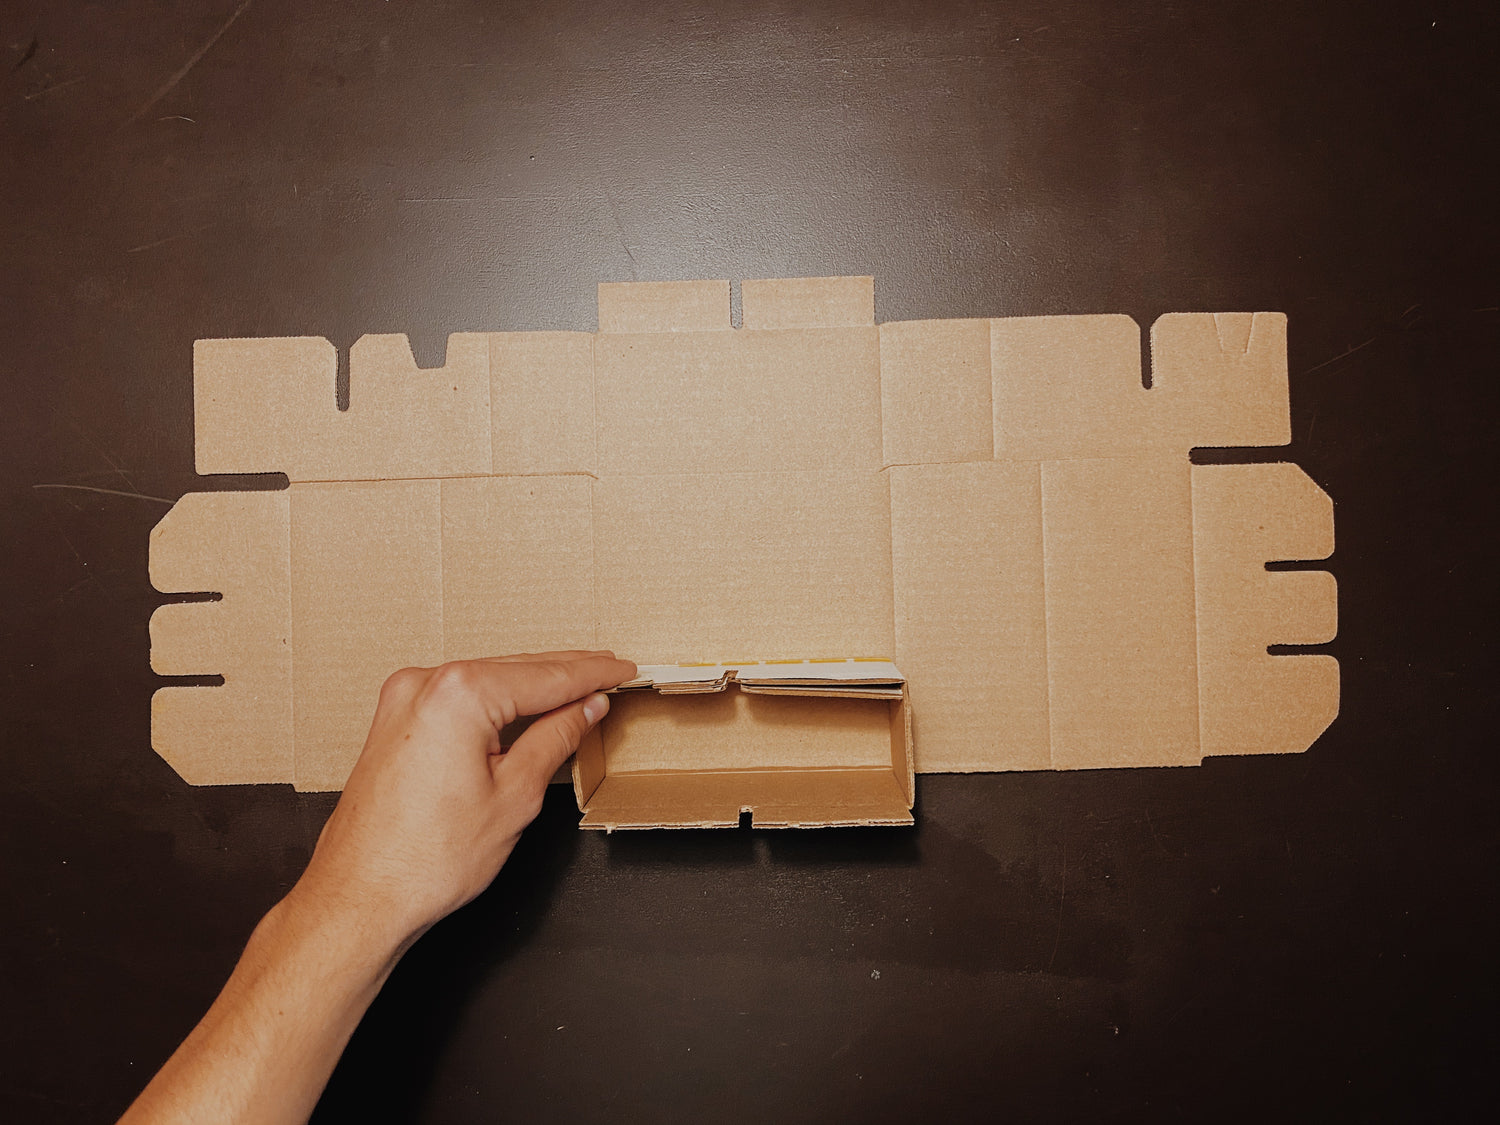
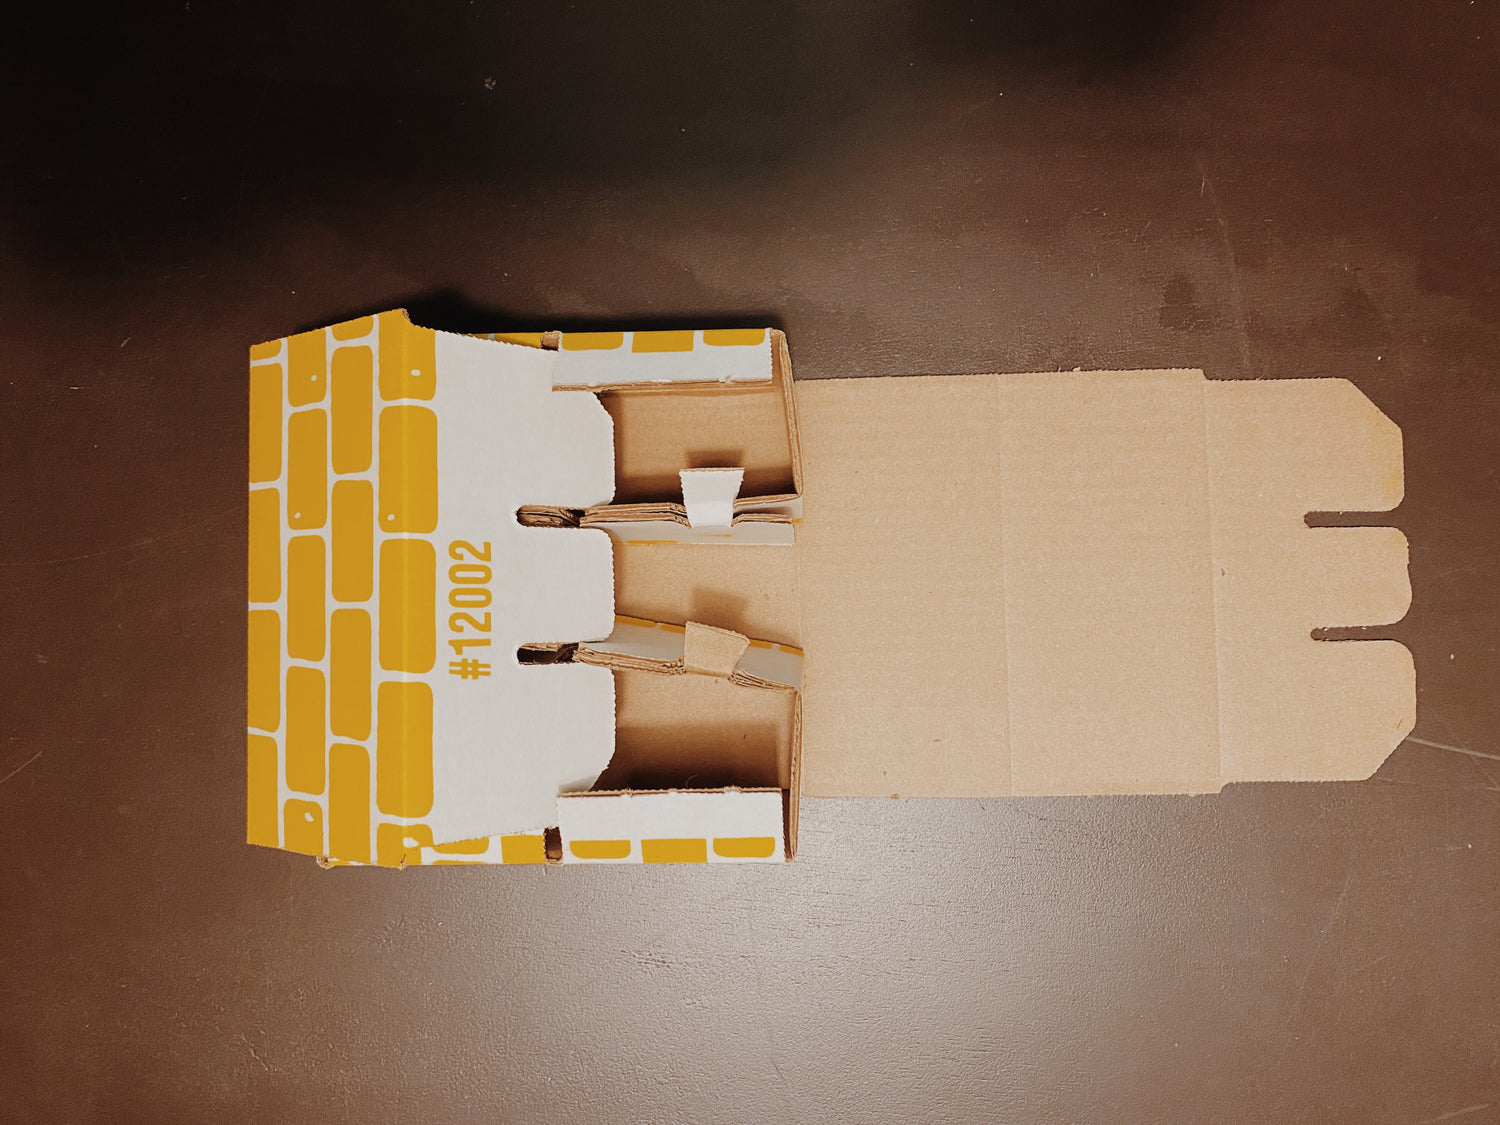
Step 3
Secure the sides
Fold in the flaps to form a rectangle
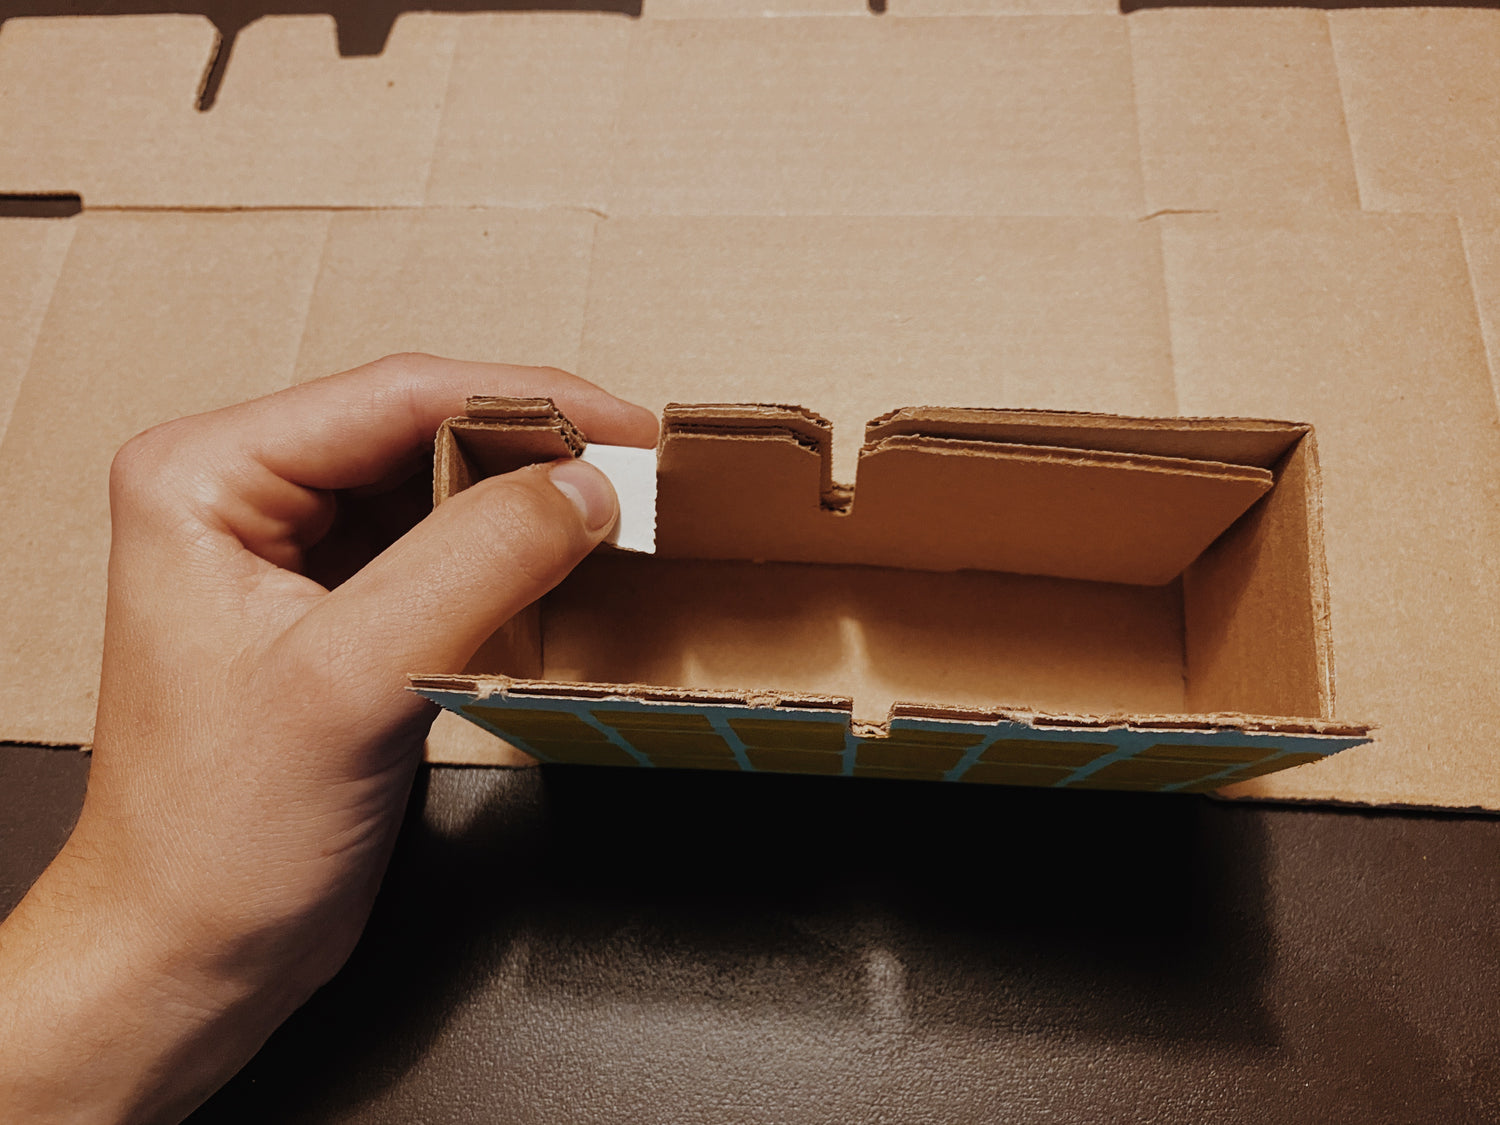
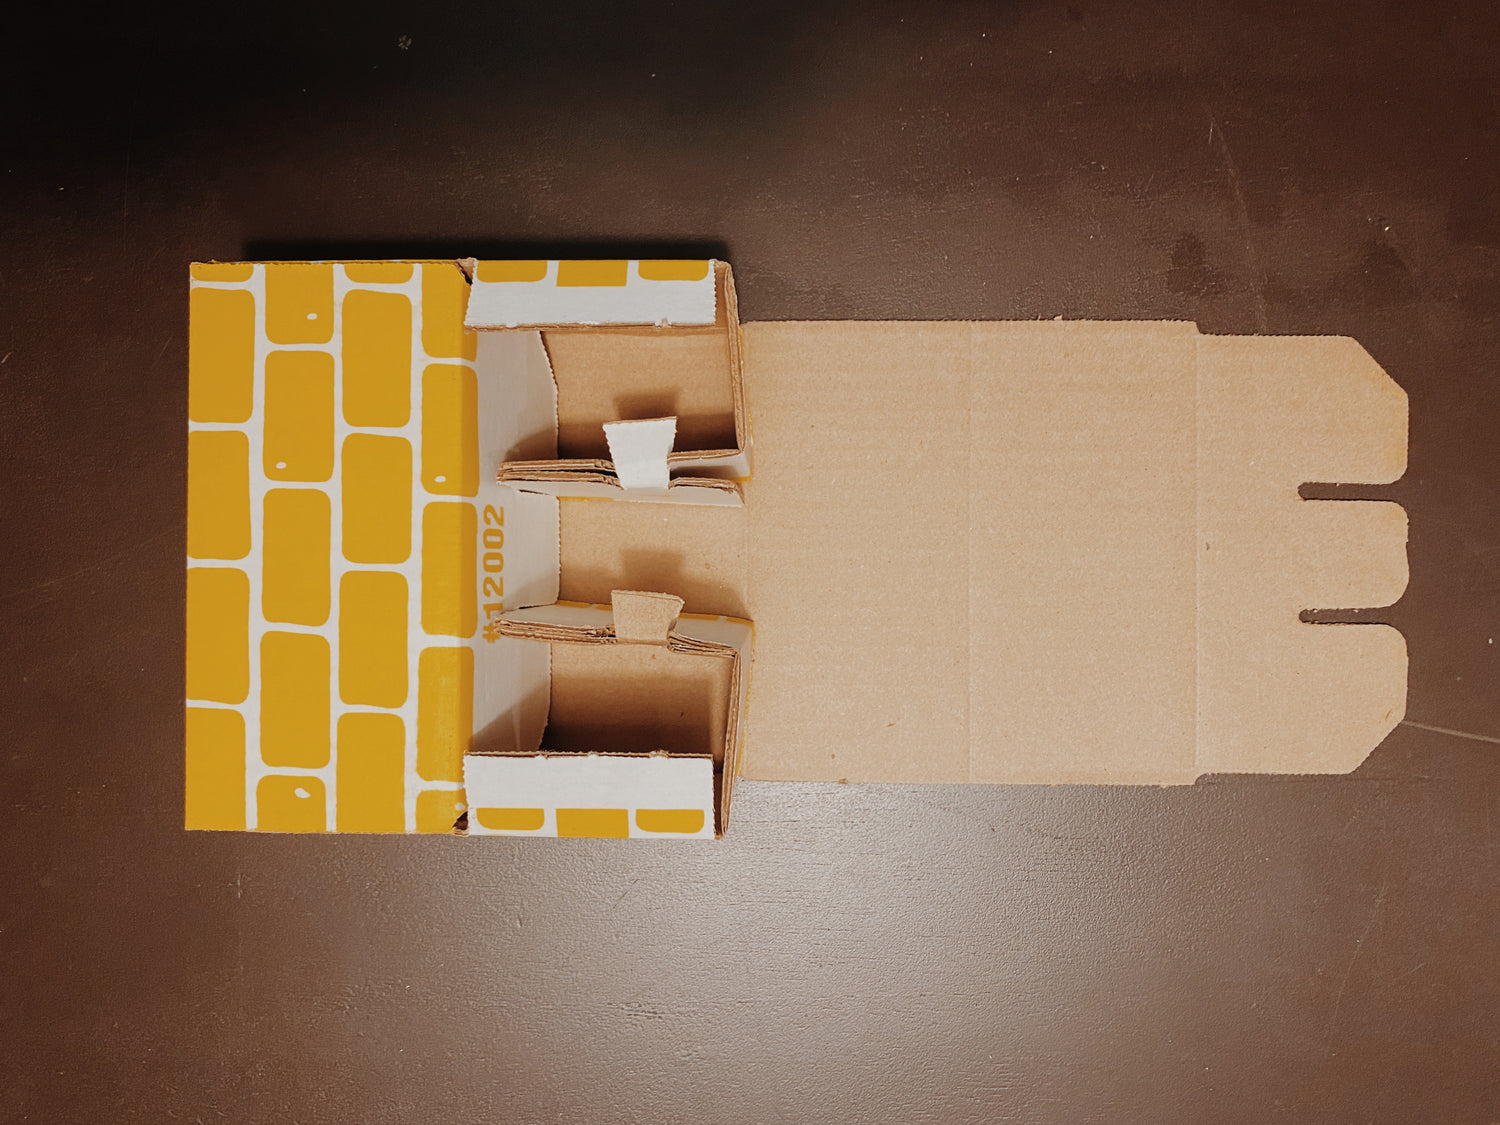
step 4
Snap in
Lock in the first side by folding over the small flap
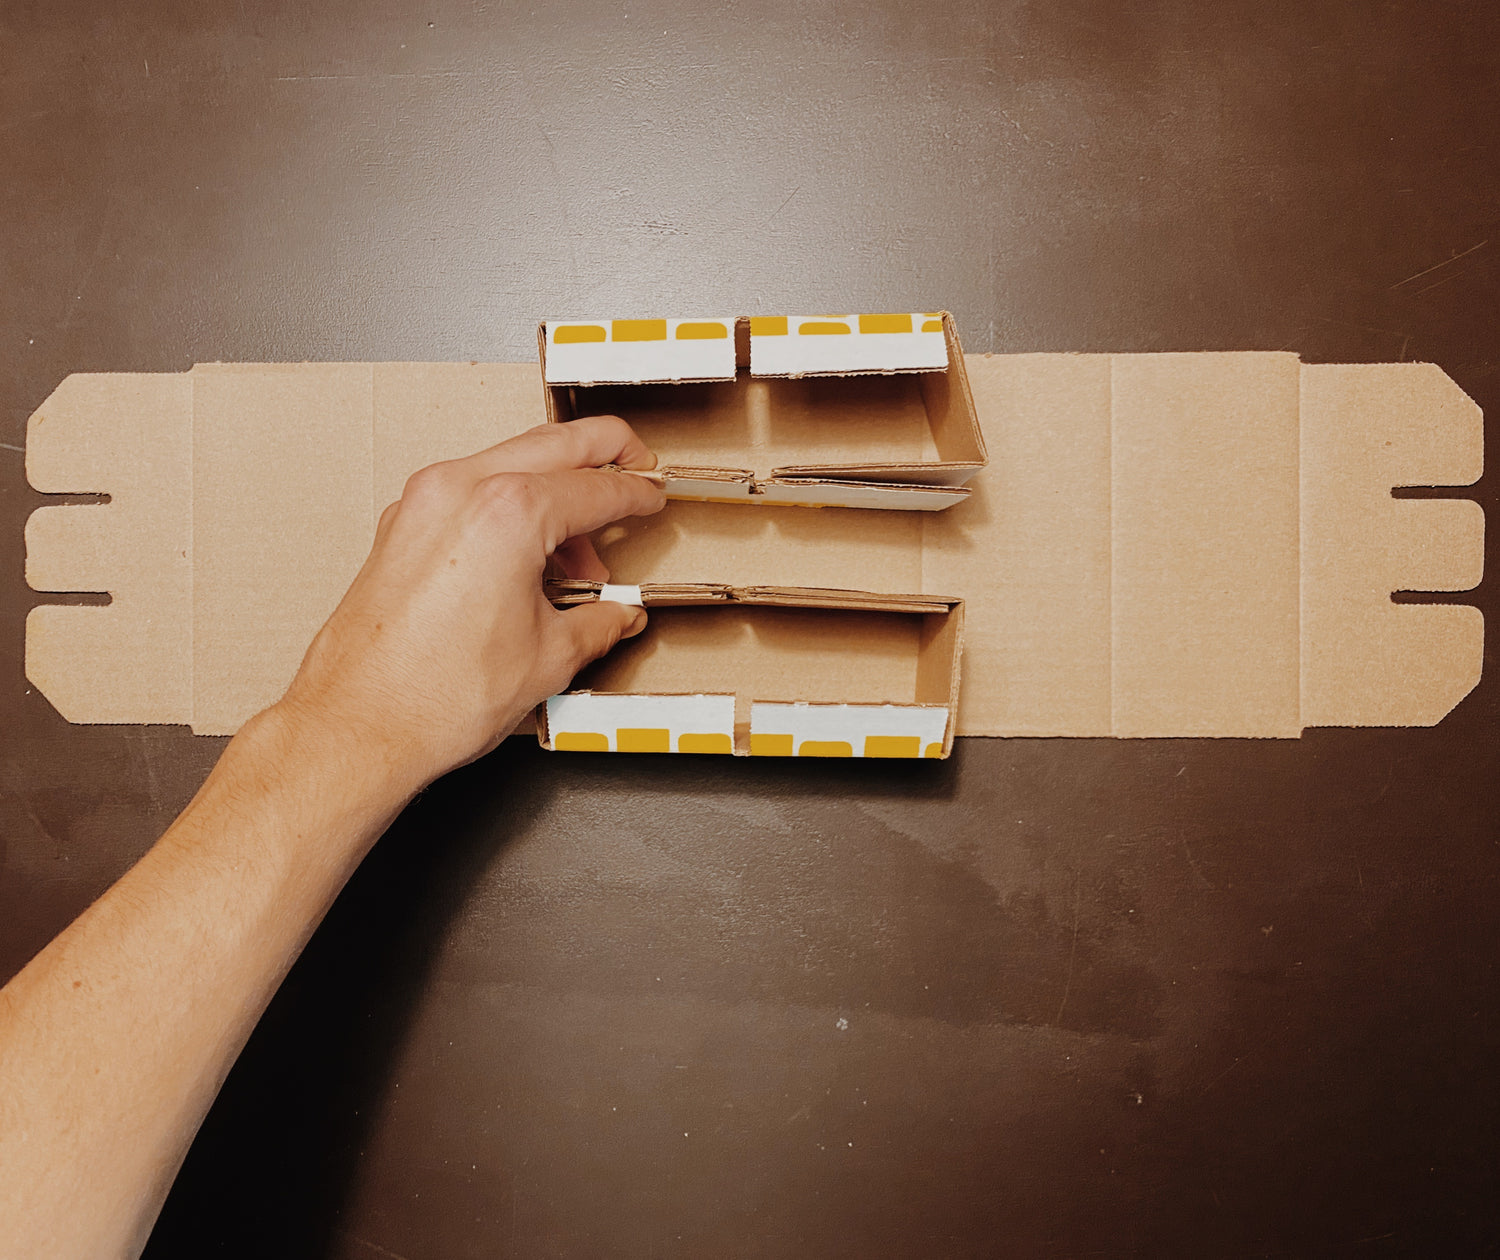
Step 5
Building up
Assemble the second side
Step 6
Closing it off
Fold over the side to form the top
Step 7
The final touch
Seal the top to complete the build
Step 8
Voilà!
Your block is ready for action